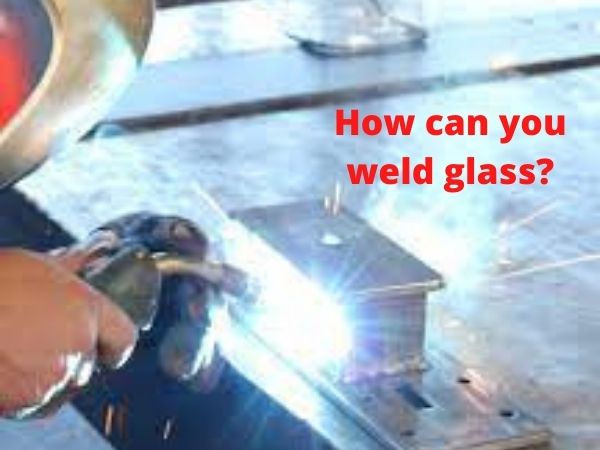
how to vertical weld with a mig welder
Today we discuss how to vertical weld with a mig welder. Welding is a necessary skill for any DIY project, whether it’s adding a new spigot to your garden hose or fabricating new parts for your car. One of the most difficult parts of welding is maintaining consistent and accurate heat levels, especially when using a MIG welder. Here are some tips to help you get started with this popular welding method.
Introducing the Mig Welder
Mig welders are a type of welding torch, and they use an inert gas to shield the welding area and help to prevent oxidation. Mig welders produce a more stable arc than other methods—and can be used with either steel or aluminum.
Understanding Your Mig Welder
A MIG welder is an arc welding tool that uses gas to create an electric arc that produces enough heat to melt the metal wire. The wire is then drawn into the weld pool, where it is melted and forms a new bond between the two pieces of metal.
The most challenging part of using this type of welder efficiently is keeping the weld pool at a consistent temperature. One way to do this is by using spatter shields on the side of your weld while you work. This will help protect your project so you can see clearly without getting any splatter on it.
Another way to keep your weld pool hot is by adding shielding gas. When you’re welding, turn up the gas until it’s just below what you think would be considered too much heat for your project.
You’ll know if you’ve turned up the gas too high if sparks fly out of your machine or if there are more than one or two sparks in your weld pool each time you make contact with your project.
How to Weld with a MIG welder
A MIG welder is a type of welding power source that utilizes gas to help produce the necessary heat needed for welding. The gas flows through the gas nozzle and mixes with the metal. As this mixture heats up, it becomes molten and can be manipulated by the metal wire (the filler material) flowing through the gun.
The most difficult part about welding with a MIG welder is maintaining consistent heat levels throughout your weld. This process can take some time to perfect, but it’s worth practicing if you’re interested in learning how to weld at all.
Here are some tips for starting out with MIG welding:
– Practice on scrap metal before attempting any welding projects that matter to you. It’ll give you a chance to get used to working with your MIG welder without risking damaging your project.
– Use filler materials that are designed for your MIG welder’s wire feed speed. If you use too slow of a feed speed, it will cause the wire not to fill in properly, creating incomplete welds. If you’re using too fast of a feed speed, the wire may not be able to fully penetrate into the weld area, causing weak points in your project that could break easily later on.
The Benefits of Using a MIG welder
Though it differs from TIG welding, MIG welding is a common and effective way to create strong, high-quality welds. MIG welding is often used for metal fabrication, which includes the repair of steel structures and bridges.
MIG welding is popular because it can produce a good quality weld quickly. It doesn’t require a lot of preparation, so you can start with any type of metal or thickness. This process uses a wire that’s fed through an automatic machine to heat the workpieces. The machine inserts filler wire to fill in gaps between two pieces being welded together.
How to Get Started with a MIG welder.
If you’ve never welded with a MIG welder before, there are a number of things you’ll want to do before you start.
The first thing is to read the instructions. A lot of new MIG welders come with a manual that outlines how they should be set up and used. Make sure you read the instructions before operating the welder, as this will help prevent accidents or injuries that can occur when a welder is being operated incorrectly.
Finally, make sure you have all of the correct connections for gas, electricity, and ground wire for your region — just like any other electrical project! You’ll also need a gas cylinder if you’re going to be using one.
how to vertical weld with a mig welder
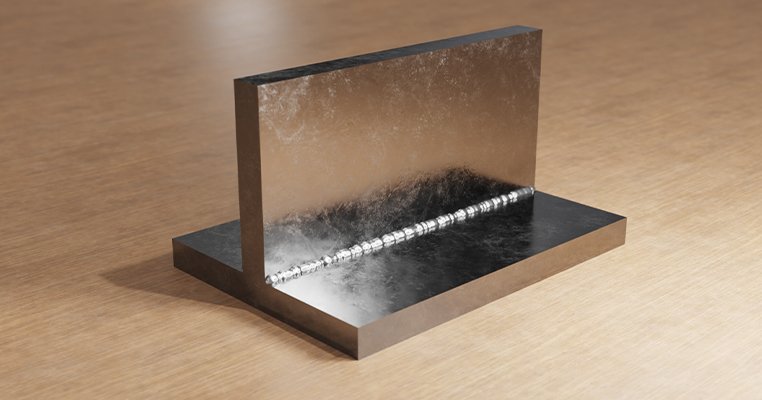
Vertical welding is a technique used to weld two pieces of metal together. When building or repairing anything, it’s often necessary to attach one piece of metal to another in this way.
Maintaining accurate heat levels is essential for any welding project, but vertical welding is particularly sensitive when using a MIG welder. Maintaining your correct settings requires some additional steps when welding vertically.
1) Welding uphill (positive slope): set the machine at 90% voltage and with the gas flow at 100%.
2) Welding downhill (negative slope): set the machine at 95% voltage and with the gas flow at 60-70%.
3) Welding on flat ground: set the machine to 95% voltage with the gas flow at 100%.
Conclusion
Although it is not difficult to use a MIG welder, there are a few key factors that will make your welding experience more enjoyable. Knowing what to expect when using a MIG welder will help you get the best results every time.