Master The Art Of Welding At Home: A Step-By-Step Guide
Thinking of using a welder at home? You’re in the right place! Using a welder can seem intimidating, but with a little guidance, you’ll be able to take on your projects confidently. In this article, we’ll walk you through the process of using a welder at home, from gathering the necessary equipment to mastering the techniques. Whether you’re a beginner or have some welding experience, we’ll provide you with the essential information you need to get started. So, let’s dive in and learn how to use a welder at home!

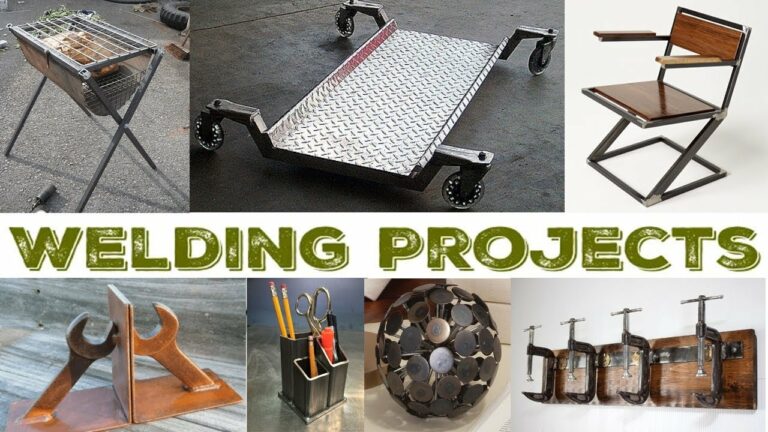
How to Use a Welder at Home
Section 1: Introduction to Welding
Before diving into the details of how to use a welder at home, let’s first understand the basics of welding. Welding is a process that involves joining two or more pieces of metal together using heat and pressure. It is a versatile skill that can be useful for various DIY projects and repairs around the house.
Welding can be done using different techniques, such as MIG (Metal Inert Gas), TIG (Tungsten Inert Gas), and Stick welding. Each technique has its own advantages and is suitable for different types of applications. In this guide, we will primarily focus on MIG welding, which is considered the easiest technique for beginners to learn and use at home.
Section 2: Safety Precautions
Prior to starting any welding project, it’s crucial to prioritize safety. Welding involves working with high temperatures, sparks, and potentially hazardous fumes. By following proper safety precautions, you can ensure a safe and accident-free welding experience. Here are some essential safety measures to consider:
- Wear protective clothing, including a welding helmet, gloves, long-sleeved shirts, and pants.
- Work in a well-ventilated area or use a fume extractor to minimize exposure to welding fumes.
- Always wear safety glasses or goggles to protect your eyes from bright light and flying debris.
- Keep a fire extinguisher nearby to quickly extinguish any potential fires.
- Inspect your welding equipment regularly to ensure it is in good working condition.
Remember, safety should never be compromised when working with a welder at home.
Section 3: Setting Up Your Welding Workstation
Creating a suitable environment for your welding projects is essential for achieving quality welds. Let’s explore how you can set up your welding workstation:
- Choose a well-ventilated area, preferably outdoors, to prevent the accumulation of welding fumes.
- Clean the work area from any flammable materials or substances that may catch fire during the welding process.
- Ensure you have a stable workbench or surface to place your welding machine and materials.
- Position your welding machine in a convenient location, allowing easy access to power and gas connections.
- Securely ground your welding machine to prevent any electrical shocks or damage to the equipment.
Section 4: Selecting the Right Welding Equipment
Choosing the right welding equipment is crucial for achieving successful welds. Here are the essential components you will need:
- Welding machine: Select a MIG welder suitable for your projects, considering factors like voltage, amperage, and duty cycle.
- Welding wire: Choose the appropriate wire diameter and material for your specific welding application.
- Gas cylinder: If you opt for gas shielding, ensure you have a compatible gas cylinder and regulator.
- Welding helmet: Invest in a high-quality welding helmet with auto-darkening features for optimal safety and visibility.
- Additional tools: Gather essential tools such as wire cutters, pliers, and a wire brush for welding preparation and cleanup.
Section 5: Preparing for Welding
Proper preparation is key to achieving strong and durable welds. Follow these steps to prepare for welding:
- Clean the metal surfaces to be welded using a wire brush to remove any dirt, rust, or paint.
- Ensure a tight fit between the metal pieces by using clamps or magnets to hold them together.
- Set up your welding machine according to the recommended settings for the material thickness and wire diameter.
- Verify the wire feed and gas flow rates to ensure smooth and consistent welds.
- Put on your welding helmet, gloves, and other protective gear before starting the welding process.
Section 6: Welding Techniques
Mastering different welding techniques is key to achieving high-quality welds. Here are some common welding techniques to learn:
- Starting and stopping the weld: Learn how to initiate the arc and maintain a steady weld pool for consistent results.
- Welding in different positions: Practice welding in flat, horizontal, vertical, and overhead positions to expand your capabilities.
- Filler metal manipulation: Control the speed and angle of the welding torch to achieve proper bead size and penetration.
- Overlap welds: Join two or more metal pieces by overlapping them and creating a continuous weld along the joint.
- Butt welds: Join metal pieces by placing their edges together and creating a fusion between them.
Section 7: Troubleshooting Common Welding Issues
Even experienced welders encounter various issues during the welding process. Here are some common problems you may face and how to troubleshoot them:
- Excessive spatter: Adjust the wire feed speed and voltage settings to minimize spatter.
- Porosity in welds: Ensure proper gas flow and electrode cleanliness to prevent porosity in the welds.
- Burn-through: Reduce the heat input and adjust the welding technique to avoid burning through thin materials.
- Inconsistent welds: Maintain a steady travel speed and electrode distance for consistent weld bead appearance.
Section 8: Post-Welding Cleanup and Inspection
Once you have completed your welding project, it’s vital to perform post-welding cleanup and inspection to ensure the integrity of your welds. Here’s what you should do:
- Allow the welded metal to cool down before handling it.
- Remove any welding spatter or excess flux using a wire brush or chisel.
- Inspect the welds for defects, such as cracks or incomplete fusion.
- Perform any necessary grinding or finishing to achieve the desired appearance.
Frequently Asked Questions
What safety precautions should I take before using a welder at home?
Before using a welder at home, it is crucial to prioritize safety. Start by wearing proper safety gear such as welding gloves, a welding helmet with a dark lens, and flame-resistant clothing. Ensure that your work area is well-ventilated to prevent the accumulation of dangerous fumes and gases. Additionally, have a fire extinguisher nearby and clear away any flammable materials from the welding area.
What type of welder should I choose for home use?
When selecting a welder for home use, consider the type of welding you intend to do. For most home projects, a versatile MIG welder is an excellent choice as it can handle various materials and thicknesses. MIG welders are user-friendly and produce cleaner welds compared to other types. It is also important to consider the power source, as some welders operate on electricity, while others use gas.
How do I prepare the metal before welding?
To ensure a strong and clean weld, proper metal preparation is essential. Start by removing any rust, paint, or dirt from the welding area using a wire brush or grinder. Next, use a degreaser to clean the metal surface thoroughly. If necessary, make bevel cuts on the edges of the metal to create a V-shaped groove, which enhances weld strength. Finally, ensure the workpieces are securely clamped together for a stable welding position.
What settings should I adjust on the welder?
When using a welder, you need to adjust certain settings based on the thickness of the metal and the type of welding technique you are using. Typically, you will need to set the voltage, amperage, and wire speed. The specific settings may vary depending on the type of welder, so it is essential to consult the user manual provided by the manufacturer for guidance. Experimenting with scrap metal pieces can also help you find the optimal settings for your specific project.
What are some common welding techniques for home use?
There are several common welding techniques you can use for home projects. One popular method is MIG welding, where a consumable wire electrode is used to join metals together. Another technique is TIG welding, which uses a non-consumable tungsten electrode to create precise and high-quality welds. Additionally, stick welding (SMAW) is suitable for heavier materials and outdoor applications. Each technique has its advantages and is best suited for specific types of projects.
How can I ensure a strong and durable weld at home?
To achieve a strong and durable weld at home, it is crucial to follow a few key steps. Firstly, ensure you have properly prepared the metal surfaces as mentioned earlier. Secondly, practice proper welding techniques, maintaining a stable hand and consistent speed. Additionally, ensure that your welds penetrate the entire thickness of the metal for maximum strength. Finally, inspect your welds for any defects or cracks, and make necessary repairs or adjustments as needed.
Final Thoughts
Using a welder at home can be a rewarding and practical skill to acquire. By following safety guidelines and understanding the basics of welding techniques, you can confidently handle various welding projects. Remember to always wear appropriate protective gear, maintain a clean work area, and ensure proper ventilation. Familiarize yourself with different types of welding machines and their specific applications. Practice on scrap metal before moving on to more complex projects. By mastering the art of welding, you can efficiently and effectively join metal pieces together, making your home repair and improvement tasks easier and more cost-effective.