How to Take Picture Of Underwater Welding Equipment
Today we discuss How to Take Picture Of Underwater Welding Equipment. Welding equipment is a vital part of any welding project. But if you don’t take photos of it before you start, you may not be able to properly document the welds. Take some time to photos of your welds before you start the project so that you can easily remember what they look like and have a record of the repairs you need to make in the future.
What to take with you when welding:
The most important thing to take a photo of is the welding machine. You’ll want to make sure that it’s in good working order and ready for use. If you want to document the repairs you need to make, take photos of those as well.
How to take Take Picture Of Underwater Welding Equipment:
In order to take photos of your welds before you start a project, it’s important to know what products you’ll be using to make the weld. For example, if you’re using gas metal arc welding (GMAW), you’ll need to take pictures of your product with an arc light.
It’s also important that your photos are taken in the best possible lighting. Find a spot where there is optimal light and plenty of it. If you’re doing a GMAW project outdoors, this might mean setting up lights on stands and posing your product between them. However, if you’re working indoors, positioning the workpiece so that it has good overhead light is a good option too.
Finally, make sure that the background isn’t cluttered or distracting in any way. For example, don’t line up pipes or other objects against one another in the background; instead, use something plain like a white paper or even canvas as your backdrop instead.
How to document the welds
There are many ways to document the work you’ve done on a project. You can use notes written on paper, pictures taken of your equipment before you start, or videos taken while the welding is in progress.
If you have time and resources, you should take a photo of each step of the process. This way, if something goes wrong with the welds, you’ll be able to easily find what went wrong and make repairs. It’s also helpful if there’s a problem during the welding process that needs to be fixed later.
If time is an issue or you don’t have access to photography equipment, use notes as your documentation tool of choice.

What to do if your photos don’t turn out well.
If your photos don’t turn out well, there are a few things you can do to fix them. First, make sure you are using the right camera settings. If your pictures are too dark or blurry, try adjusting the camera’s shutter speed and aperture. You should also use a tripod if possible because it will help eliminate any shake in your images.
Depending on the type of project you’re working on, adding filters might be helpful as well. For example, if you’re doing a welding project, it could be helpful to add a vignette filter to your image so that the frame is darker around the edges.
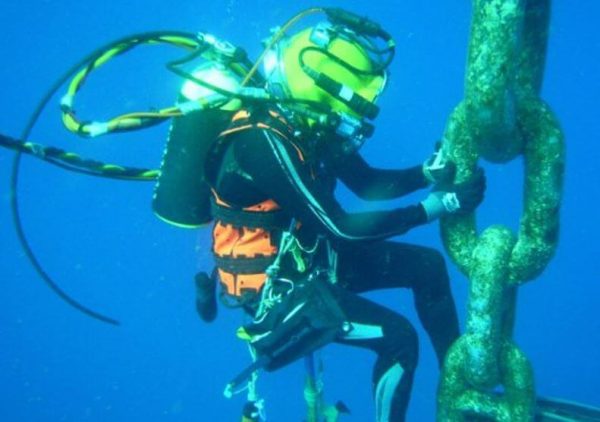
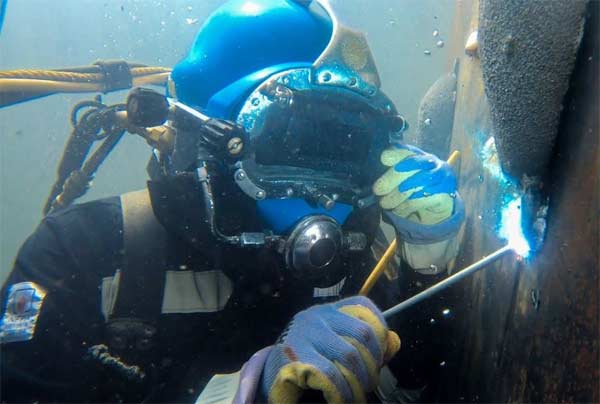
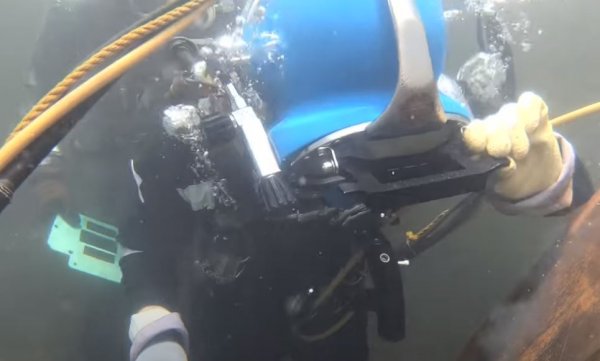
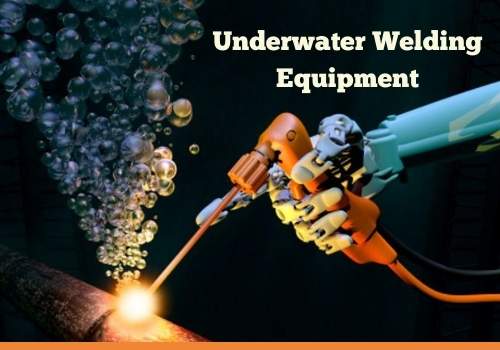
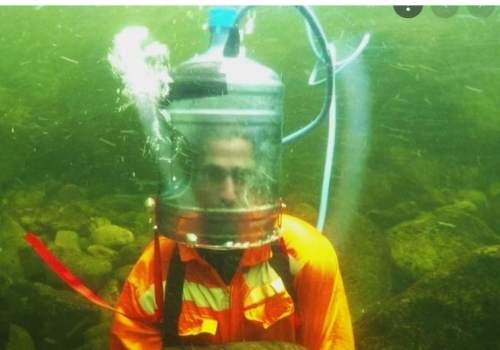
Picture Of Underwater Welding Equipment:
Conclusion
The best photos of your welding equipment will tell the story of what you’re doing, and they’ll show off your work in the best possible light.