how to use a cutting torch?
Welcome to our comprehensive guide on how to use a cutting torch. Whether you’re a professional welder or a DIY enthusiast, mastering the skill of using a cutting torch can open up a world of possibilities in metal fabrication and repair work.
In this article, we will provide you with a step-by-step guide on using a cutting torch safely and effectively. From assembling the equipment to executing precise cuts, we’ll cover everything you need to know. Let’s dive in!
how to use a cutting torch
1. Understanding the Cutting Torch and Its Components
To begin, let’s familiarize ourselves with the cutting torch and its key components. We’ll explore the torch handle, cutting attachment, oxygen and fuel gas cylinders, regulators, hoses, and the cutting tip. Understanding each component’s function is crucial for safe and efficient operation.
2. Preparing for the Job
Before igniting the cutting torch, several preparatory steps must be taken. This section will cover essential safety precautions, such as wearing appropriate protective gear, inspecting the equipment, ensuring proper ventilation, and securing the workpiece. Safety should always be the top priority.
3. Setting Up the Cutting Torch
In this step, we’ll guide you through the process of setting up the cutting torch. This includes connecting the oxygen and fuel gas cylinders, adjusting the regulators, attaching the hoses, and selecting the appropriate cutting tip for your desired thickness. We’ll also cover the proper techniques for leak testing and purging the system.
4. Igniting the Torch and Adjusting the Flame
With the setup complete, it’s time to ignite the cutting torch. We’ll explain the correct procedures for lighting the torch and adjusting the flame. Achieving the right flame characteristics, including the proper fuel-to-oxygen ratio, is essential for precise and efficient cutting.
5. Executing the Cutting Process
This section will provide you with step-by-step instructions on how to execute the cutting process using a torch. We’ll cover techniques such as preheating the metal, piercing the metal, maintaining the correct cutting angle, and controlling the cutting speed. Tips for achieving clean and precise cuts will be shared along the way.
10 Ways To Use A Cutting Torch:
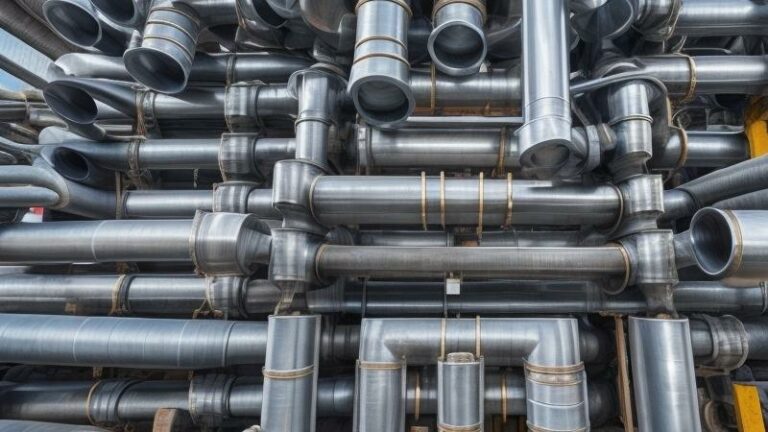
- soldering copper pipes – A cutting torch can be used to solder copper pipes together quickly and easily.
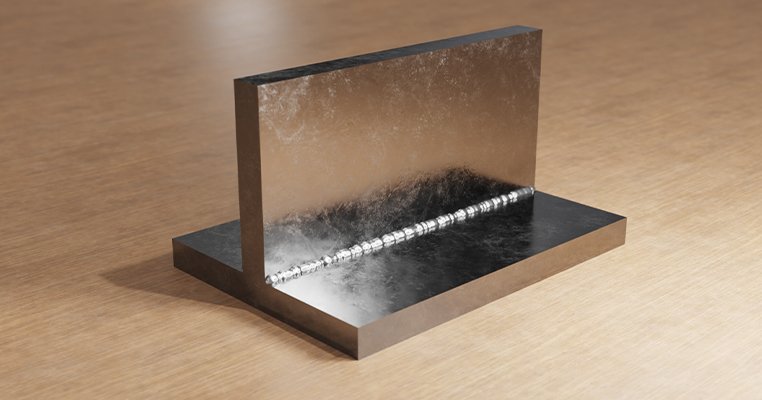
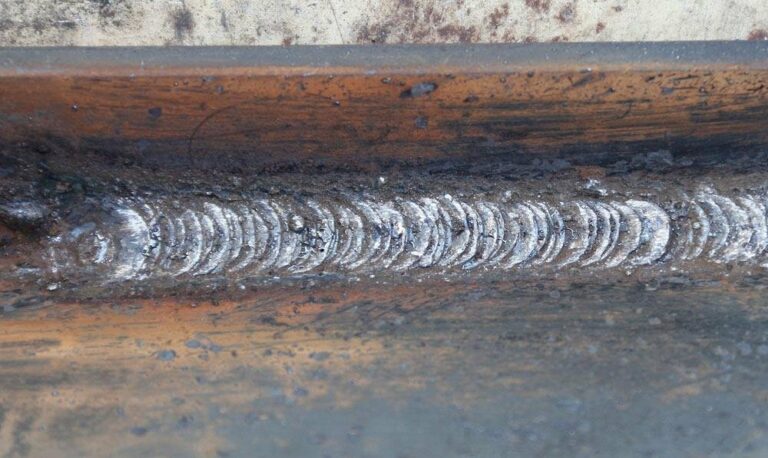
- welding metal – A cutting torch can be used to weld metal together. This is especially useful for projects that require strong welds, such as building furniture or machinery.
- heating metal – A cutting torch can be used to heat metal so that it can be bent or shaped into the desired shape. This is especially useful for projects that require intricate shapes or curves.
- cutting metal – A cutting torch can be used to cut metal quickly and easily. This is especially useful for projects that require precise cuts, such as in sheet metal or tubing.
- thawing pipes – A cutting torch can be used to thaw frozen pipes quickly and easily. This is especially useful in emergency situations where time is of the essence.
- melting ice – A cutting torch can be used to melt ice quickly and easily. This is especially useful in emergency situations where time is of the essence.
- burning trash – A cutting torch can be used to burn trash quickly and easily. This is especially useful in situations where traditional methods of disposal are not available or practical.
- lighting grills – A cutting torch can be used to light grills quickly and easily. This is especially useful in situations where matches or lighters are not available or practical.
- drying wet wood – A cutting torch can be used to dry wet wood quickly and easily. This is especially useful in situations where time is of the essence of the wood needs to be dried immediately to prevent warping or Mold growth.
faqs for how to use a cutting torch :
It’s crucial to wear proper safety gear, including flame-resistant clothing, safety goggles, welding gloves, and closed-toe shoes. Additionally, a welding helmet with a shaded lens and hearing protection is recommended.
While cutting torches can be used on a variety of metals, they are primarily designed for cutting ferrous metals such as steel. Consult the manufacturer’s guidelines for specific metal compatibility.
Regular maintenance is essential. Keep the torch clean, inspect hoses for damage, replace worn-out or damaged parts, and store the equipment in a dry and secure area. Refer to the manufacturer’s maintenance guidelines for detailed instructions.
While a cutting torch is suitable for general cutting tasks, achieving precision cuts may require additional tools such as a plasma cutter or a precision saw. Consider the specific requirements of your project before proceeding.
To safely shut down the cutting torch, first close the oxygen and fuel gas cylinder valves. Then, release the remaining gas from the torch and hoses. Properly store the equipment in a designated area, away from flammable materials.
final words
Mastering the art of using a cutting torch opens up a world of possibilities in metalworking. By following our step-by-step guide, you can safely and effectively utilize a cutting torch for a variety of cutting tasks.
Remember to prioritize safety, adhere to proper procedures, and maintain your equipment for optimal performance. With practice and attention to detail, you’ll become proficient in using a cutting torch and achieve precise cuts in your metal fabrication projects. Happy cutting!