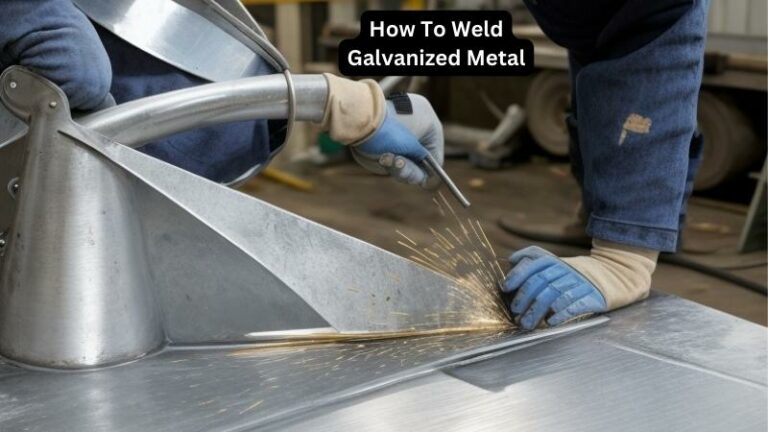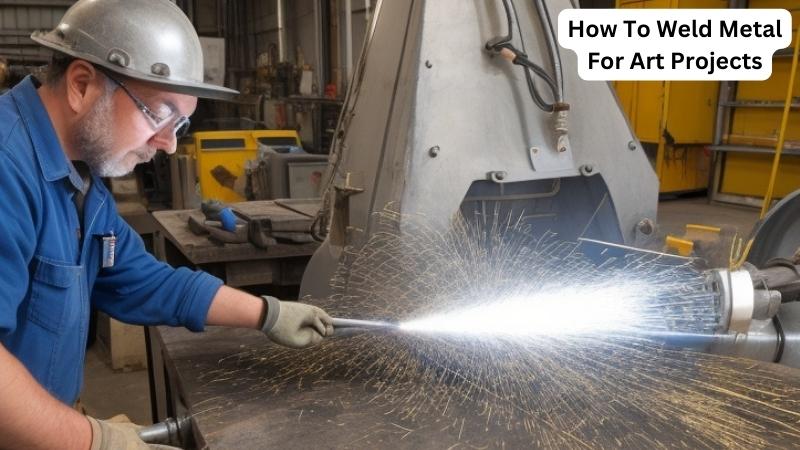
How To Weld Metal For Art Projects
Today we discuss How To Weld Metal For Art Projects. Metal welding is an art form that allows creative individuals to breathe life into their imaginative ideas. Whether you’re an aspiring sculptor or a seasoned artisan, mastering the skill of welding can elevate your artwork to new heights. In this guide, we will explore the fascinating world of metal welding for art projects, providing you with essential techniques, tips, and tricks to create stunning and durable pieces.
So, get ready to ignite your creativity and learn the secrets of welding metal for artistic expression. Welding is more than just joining two pieces of metal together; it is a transformative process that fuses imagination and craftsmanship.
From delicate sculptures to robust installations, welding offers endless possibilities for artists willing to wield the torch. In this comprehensive guide, we will cover the fundamentals of metal welding, including selecting the right materials, understanding various welding techniques, and ensuring safety measures.
Whether you are a novice or looking to refine your skills, this guide will equip you with the knowledge and confidence needed to embark on your artistic journey in the world of metal welding. So, let’s dive in and unlock the power of welding as a medium for artistic expression.
Weld Metal for Art Projects:
- Prepare your workspace by clearing any flammable materials and ensuring proper ventilation.
- Gather the necessary equipment, including a welding machine, welding helmet, gloves, and safety goggles.
- Clean the metal surfaces to be welded using a wire brush or grinder to remove rust, paint, and dirt.
- Set up the welding machine according to the type of metal and thickness you are working with.
- Position the metal pieces to be welded, ensuring a tight fit and proper alignment.
- Put on your safety gear and start the welding process, maintaining a steady hand and consistent speed.
- Continue welding until the desired art project is complete, making sure to cool down the metal between welds if necessary.
- Inspect the welds for any imperfections and make necessary adjustments or touch-ups.
- Clean the finished art project, removing any welding residue or slag.
How To Weld Metal For Art Projects:
Step 1: Gather the necessary materials
Before you start welding, it’s important to gather all the necessary materials. Here’s a list of what you’ll need:
- A welding machine
- Welding electrodes
- Protective gear (welding helmet, gloves, and apron)
- Clean metal pieces to be welded
- Clamps or magnets to hold the pieces together
- A well-ventilated workspace
Make sure to have everything ready before you begin to ensure a smooth welding process.
Step 2: Prepare the metal surfaces
Proper preparation of the metal surfaces is crucial for a successful weld. Start by cleaning the metal pieces to be welded using a wire brush or sandpaper. This will remove any rust, dirt, or paint that could interfere with the welding process.
Next, ensure that the metal pieces fit together tightly and securely. You can use clamps or magnets to hold them in place. It’s important to have a clean and stable work area to prevent any accidents or movement of the pieces during welding.
Step 3: Set up your welding machine
Now it’s time to set up your welding machine. Make sure you have the appropriate welding electrodes for the type of metal you are working with. Different metals require different electrodes, so consult the manufacturer’s guidelines or seek professional advice if you’re uncertain.
Check the settings on your welding machine and adjust them accordingly. The voltage, amperage, and wire speed settings will depend on the thickness of the metal and the type of weld you want to achieve. It’s essential to follow the machine’s instructions and take safety precautions.
Step 4: Practice welding techniques
Before you start welding your art project, it’s advisable to practice your welding techniques on scrap metal. This will help you get familiar with the welding process and adjust your settings if needed.
Hold the welding torch at a slight angle and maintain a steady hand as you create the weld. Move the torch in a consistent motion along the joint, ensuring that the electrode melts into the metal and creates a strong bond. Practice different welding techniques, such as spot welding, bead welding, or fillet welding, depending on the desired effect for your art project.
Step 5: Weld your art project
Once you feel confident in your welding skills, it’s time to weld your art project. Take your time and work systematically, focusing on one joint at a time. Ensure that the metal pieces are securely clamped or held in place to prevent any movement during welding.
Remember to always wear your protective gear and work in a well-ventilated area. Welding produces intense heat and bright light, so protects your eyes, skin, and lungs from potential harm.
Step 6: Finishing touches
After completing the welding process, allow your art project to cool down. Once it’s safe to touch, inspect the welds for any imperfections or inconsistencies. Use a grinder or file to smooth out any rough edges or excess weld material.
If desired, you can apply a protective coating or finish to your art project to enhance its appearance and durability. This could be a coat of paint, a clear varnish, or a specialized metal finish.
Step 7: Admire your masterpiece
Now that you have successfully welded your art project, take a step back and admire your masterpiece. Welding metal for art projects is a skill that requires practice and patience, but the results can be truly remarkable.
Remember to continue honing your welding skills and experimenting with different techniques to expand your artistic possibilities. With each project, you’ll gain more experience and confidence in your abilities.
Faqs for How To Weld Metal For Art Projects:
Answer:
The type of welding process you choose depends on the specific requirements of your metal art project. However, two common welding processes used in metal art are MIG (Metal Inert Gas) welding and TIG (Tungsten Inert Gas) welding.
MIG welding is generally easier to learn and provides a faster welding speed, making it suitable for larger metal art pieces. On the other hand, TIG welding is more precise and produces cleaner welds, making it ideal for intricate and detailed metal art.
Ultimately, the choice between the two processes depends on your skill level, the complexity of the project, and the desired outcome.
In both cases, it is important to ensure that you have the proper safety equipment, including welding helmets, gloves, and protective clothing, as welding can be hazardous.
Answer:
To weld metal for art projects, you will need several essential tools and equipment. These include a welding machine that is suitable for the type of welding process you are using, such as a MIG or TIG welder. You will also need welding electrodes or filler wire specific to the type of metal you are working with.
Additionally, a welding hood or helmet with a darkened lens is necessary to protect your eyes from the intense light produced during welding. Other essential tools include welding gloves, a chipping hammer, wire brushes, clamps, and a welding table or workbench.
It is important to choose high-quality tools and equipment to ensure accurate and safe welding. Regular maintenance and proper storage of the equipment are also essential for its longevity and performance.
Answer:
Proper preparation of metal surfaces is crucial for successful welding in art projects. Start by cleaning the metal surfaces thoroughly to remove any dirt, rust, or contaminants using a wire brush or sandpaper. This ensures good weld penetration and reduces the risk of defects.
Next, be sure to remove any paint or coatings from the areas to be welded, as these can interfere with the welding process. If necessary, use a suitable chemical stripper or grinder to remove stubborn coatings.
Once the surfaces are clean, it is important to secure the metal pieces in the desired position using clamps or fixtures. This ensures stability during welding and helps maintain the intended shape and alignment of the art project. Proper preparation sets the foundation for strong and visually appealing welds.
Answer:
Achieving smooth and clean welds for metal art projects requires attention to detail and practice. One essential aspect is controlling the heat input during welding. Excessive heat can lead to distortion, burn-through, or weakened welds. Therefore, it is important to maintain a steady and appropriate welding speed, adjusting the heat settings accordingly.
Another important factor is ensuring good shielding gas coverage in MIG welding or using the correct tungsten electrode in TIG welding. This protects the weld pool from atmospheric contamination, resulting in cleaner welds. Regularly cleaning the welding gun or torch nozzle and removing any spatter or debris also helps maintain the quality of the welds.
Lastly, practicing different welding techniques and seeking guidance from experienced welders can further enhance your skills in achieving clean and visually appealing welds for metal art projects.
Answer:
Safety is paramount when welding metal for art projects. Start by wearing appropriate personal protective equipment (PPE), such as a welding helmet with a darkened lens, welding gloves, and flame-resistant clothing.
Ensure that your work area is well-ventilated to minimize the inhalation of fumes and gases produced during welding. If working indoors, consider using local exhaust ventilation or portable fume extractors to remove welding fumes from the air.
It is important to have a fire extinguisher nearby and to keep your work area clear of flammable materials. Remember to properly ground your welding equipment and avoid welding near combustible substances. Regularly inspect your welding equipment for any defects or malfunctions and follow the manufacturer’s instructions for safe usage. Finally, always be aware of your surroundings and take necessary precautions to prevent accidents or injuries.

Source: ytimg.com
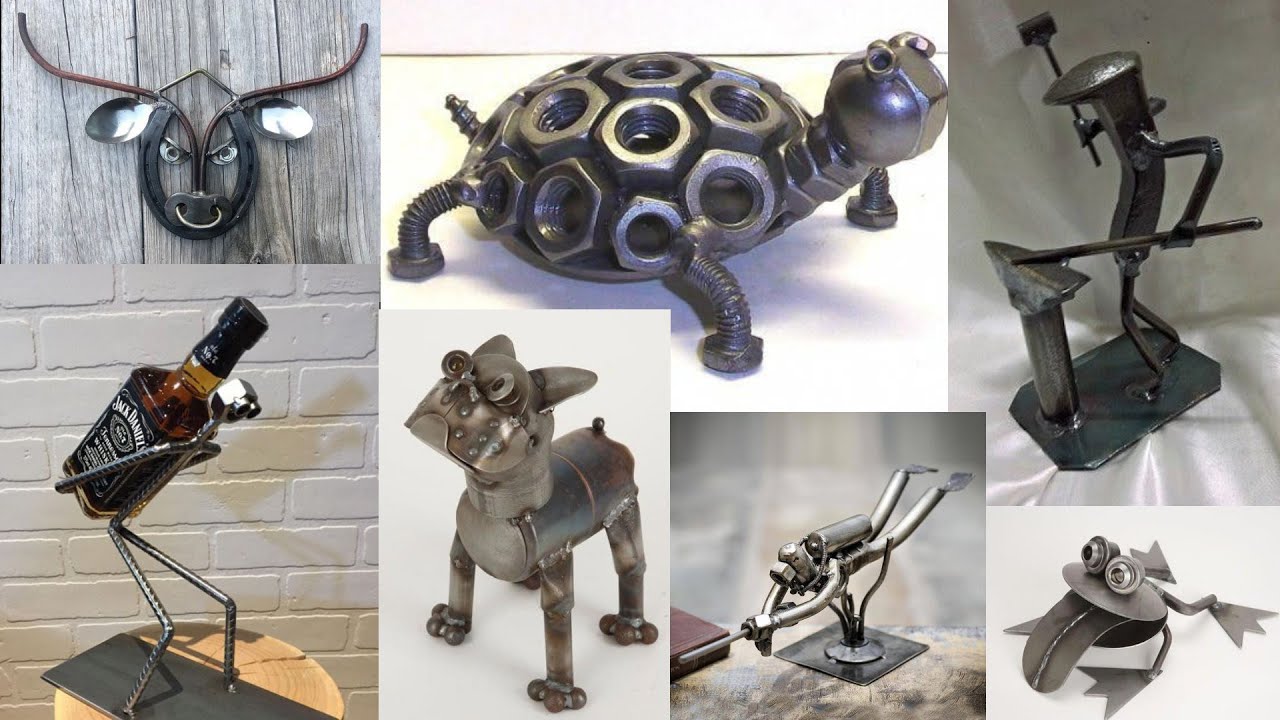
conclusion:
learning how to weld metal for art projects opens up a world of possibilities for creative expression. With the right tools, techniques, and practice, artists can transform ordinary pieces of metal into stunning works of art. Whether it’s sculptural pieces, decorative objects, or functional art, welding offers endless opportunities to push the boundaries of imagination and craftsmanship.
Moreover, mastering the art of welding not only allows artists to create unique and personalized pieces, but it also provides a sense of empowerment and self-sufficiency. By acquiring this valuable skill, artists can take control of their artistic vision and bring their ideas to life with their own hands. The ability to manipulate metal and fuse it together opens up a whole new dimension of artistic exploration, where the only limit is one’s own creativity.