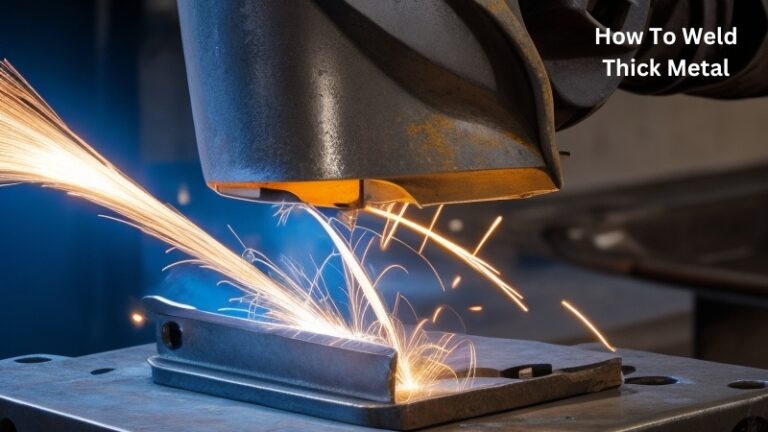
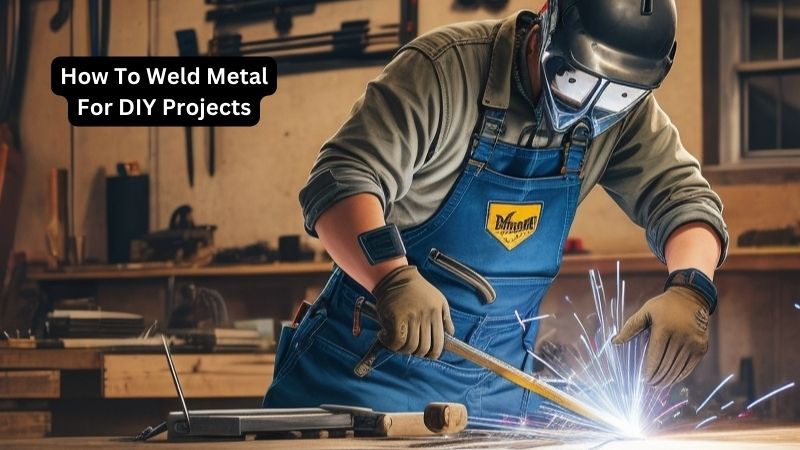
How To Weld Metal For DIY Projects
Today we discuss How To Weld Metal For DIY Projects. Metal welding is a skill that has the power to transform ordinary pieces of metal into extraordinary creations. From DIY enthusiasts to professional craftsmen, learning how to weld metal opens up a world of possibilities for creating unique and durable projects. Whether you want to build custom furniture, repair broken metal items, or unleash your creativity through metal art, mastering the art of welding is a must.
In this comprehensive guide, we will delve into the fascinating world of metal welding, providing you with step-by-step instructions, expert tips, and practical techniques to help you get started on your DIY welding journey. From understanding the different types of welding processes to selecting the right equipment and ensuring safety precautions, we will cover it all.
So, grab your welding helmet, put on your protective gear, and get ready to ignite your passion for welding as we take you on an exciting journey through the art of welding metal for DIY projects.
How to Weld Metal for DIY Projects:
- Prepare the metal by cleaning it thoroughly.
- Choose the appropriate welding method based on the type of metal.
- Wear protective gear, including gloves and a welding helmet.
- Set up your welding equipment and ensure it is in proper working condition.
- Position the metal pieces to be welded and secure them in place.
- Start the welding process by creating an arc or heat source.
- Apply the welding filler material to join the metal pieces together.
- Continue welding until the desired weld is achieved.
- Allow the welded metal to cool down before handling it.
How To Weld Metal For DIY Projects:
Step 1: Safety Precautions
Before you begin welding, it is essential to prioritize safety. Ensure you have the appropriate safety gear, including a welding helmet, gloves, and protective clothing. Make sure your workspace is well-ventilated and free from any flammable materials.
Moreover, it is crucial to familiarize yourself with the specific safety guidelines provided by your welding equipment manufacturer. Different welding techniques and machines may have specific safety measures that need to be followed strictly.
Step 2: Choosing the Right Welding Method
There are various welding methods available, each suitable for different types of metal and project requirements. The most common welding techniques used in DIY projects are MIG (Metal Inert Gas) and TIG (Tungsten Inert Gas) welding.
MIG welding is ideal for beginners as it is relatively easy to learn and offers fast and efficient results. TIG welding, on the other hand, provides more precise and aesthetically pleasing welds, making it suitable for intricate projects.
Consider the nature of your DIY project and the type of metal you are working with to determine the most appropriate welding method.
Step 3: Preparing the Metal
Before you start welding, it is crucial to prepare the metal surface properly. Begin by cleaning the metal using a wire brush or grinder to remove any rust, paint, or debris. Next, ensure the metal pieces fit together securely by using clamps or magnets to hold them in place.
If you are working with thicker metal pieces, you may need to bevel the edges to create a V-shaped groove. This groove will allow for better penetration of the weld and a stronger joint. Use a grinder or file to create the beveled edges, ensuring they are clean and free from any burrs.
Step 4: Setting Up the Welding Equipment
Once the metal is prepared, it’s time to set up your welding equipment. Start by adjusting the welding machine settings based on the thickness of the metal and the type of welding method you are using. Refer to the manufacturer’s guidelines for the recommended settings.
Ensure the welding machine is connected to a suitable power source and that the grounding clamp is securely attached to the metal. Double-check all the connections and make sure the welding wire or electrode is properly installed.
Step 5: Welding Technique
Now that everything is set up, it’s time to start welding. Hold the welding torch or electrode at a slight angle, approximately 10-15 degrees, and maintain a consistent distance between the torch and the metal surface.
Moving at a steady pace, create a small pool of molten metal by making a series of short, straight welds. Ensure the pool covers the joint completely, and use a weaving motion to distribute the heat evenly. Take breaks between welds to prevent overheating and allow the metal to cool down.
Step 6: Post-Welding Finishing
After completing the welding process, you may need to do some post-welding finishing. Use a wire brush or grinder to remove any slag or excess weld material. If desired, you can apply a metal primer or paint to protect the weld and enhance the overall appearance of your DIY project.
Finally, inspect the weld for any defects or imperfections. If necessary, you can perform additional welds or make touch-ups to ensure a strong and visually appealing result.
Step 7: Practice and Improvement
Remember, welding is a skill that improves with practice. Don’t be discouraged if your initial welds are not perfect. Keep practicing and experimenting with different techniques and settings to enhance your welding abilities.
Additionally, continue to educate yourself on various welding methods and stay updated with the latest safety guidelines and equipment advancements. By constantly seeking improvement, you can become a proficient welder and tackle more complex DIY projects with confidence.
Step 8: Seeking Professional Help
While welding for DIY projects can be rewarding and cost-effective, there may be instances where seeking professional help is necessary. If you encounter complex metalwork, structural welding, or if safety concerns arise, it is advisable to consult a certified welder who can provide expert guidance and support.
Professional welders have extensive experience and knowledge in handling challenging projects, ensuring optimal results, and maintaining safety standards.
Step 9: Maintenance and Safety Precautions
Once your welding project is complete, it is essential to maintain the integrity of the welds and prioritize safety. Regularly inspect the welds for any signs of damage or weakness and address them promptly.
Additionally, store your welding equipment properly, ensuring it is clean and free from moisture. Keep it away from children and untrained individuals to prevent accidents.
Step 10: Continuous Learning
Welding is a versatile skill that opens up numerous possibilities for your DIY projects. As you gain more experience, consider expanding your knowledge by exploring advanced welding techniques, such as underwater welding or welding different types of metals.
Stay curious and continue learning through online resources, workshops, or even joining welding communities. Engaging with fellow welders can provide valuable insights and help you stay up-to-date with the latest trends and innovations in the welding industry.
Faqs for How To Weld Metal For DIY Projects:
For welding metal, you will need the following equipment:
1. Welding machine: This is the main tool used for welding. It generates heat to melt the metal and join it together.
2. Welding helmet: A protective helmet with a dark lens that shields your eyes from the bright welding arc.
3. Welding gloves: Thick gloves that protect your hands from heat, sparks, and molten metal.
4. Welding jacket: A fire-resistant jacket that provides protection for your upper body.
5. Welding electrodes or wire: These are consumable materials that melt and form the weld.
It is important to ensure that you have the right equipment and that it is in good working condition before starting any welding project.
Welding can be a hazardous process, so it is important to take the following safety precautions:
1. Wear protective gear: Always wear a welding helmet, gloves, and a jacket to protect yourself from sparks, heat, and molten metal.
2. Work in a well-ventilated area: Welding produces fumes and gases that can be harmful if inhaled. Make sure you are working in a well-ventilated area or use a fume extractor.
3. Keep a fire extinguisher nearby: Welding involves heat and sparks, which can potentially start a fire. Have a fire extinguisher nearby and know how to use it.
4. Secure your workpiece: Make sure your workpiece is securely clamped or held in place to prevent it from moving or falling during welding.
5. Be aware of electrical hazards: Welding requires electricity, so make sure you are using the correct power source and that all electrical connections are secure.
There are several types of welding that you can use for DIY projects:
1. MIG welding: Also known as Gas Metal Arc Welding (GMAW), MIG welding uses a wire electrode and a shielding gas to create the weld.
2. TIG welding: Also known as Gas Tungsten Arc Welding (GTAW), TIG welding uses a tungsten electrode and a filler rod, and does not require a shielding gas.
3. Stick welding: Also known as Shielded Metal Arc Welding (SMAW), stick welding uses a consumable electrode coated in flux to create the weld.
4. Flux-cored arc welding: This is similar to MIG welding, but uses a different type of wire electrode that has flux inside.
5. Spot welding: Spot welding is commonly used for joining thin metal sheets together, using two copper electrodes to create localized heat and pressure.
Proper preparation of the metal surface is crucial for a strong and reliable weld. Follow these steps to prepare the metal for welding:
1. Clean the metal: Remove any dirt, rust, paint, or coatings from the metal surface using a wire brush or a grinder. This ensures good contact between the metal and the weld.
2. Bevel the edges: If you are working with thick metal, bevel the edges to create a V-shaped groove. This allows for better penetration and stronger welds.
3. Clamp the workpiece: Securely clamp or hold the workpiece in place to prevent it from moving during welding.
4. Set up your equipment: Make sure your welding machine is set to the appropriate settings for the type and thickness of metal you are working with.
5. Practice good technique: Maintain a steady hand and move the welding torch or electrode in a controlled manner along the joint, ensuring even heat distribution.
Improving your welding skills takes practice and experience. Here are some tips to help you improve:
1. Take a welding course: Consider taking a welding course or attending workshops to learn from experienced welders and gain hands-on practice.
2. Start with small projects: Begin with simple, small-scale projects to build your skills and confidence before tackling larger or more complex projects.
3. Seek guidance and feedback: Ask for advice and feedback from experienced welders or join online welding communities to learn from others and get constructive criticism.
4. Practice different welding techniques: Experiment with different welding techniques and materials to expand your knowledge and skill set.
5. Learn from mistakes: Analyze your welds and identify areas for improvement. Learn from any mistakes or defects to avoid repeating them in future projects.
Source: ytimg.com
conclusion:
learning how to weld metal for DIY projects can be a highly rewarding and empowering skill to acquire. By mastering the art of welding, you open up a world of possibilities to create and repair various items on your own, saving both time and money. Whether it’s constructing a custom metal gate for your home or fixing a broken piece of furniture, the ability to weld gives you the freedom to bring your creative ideas to life.