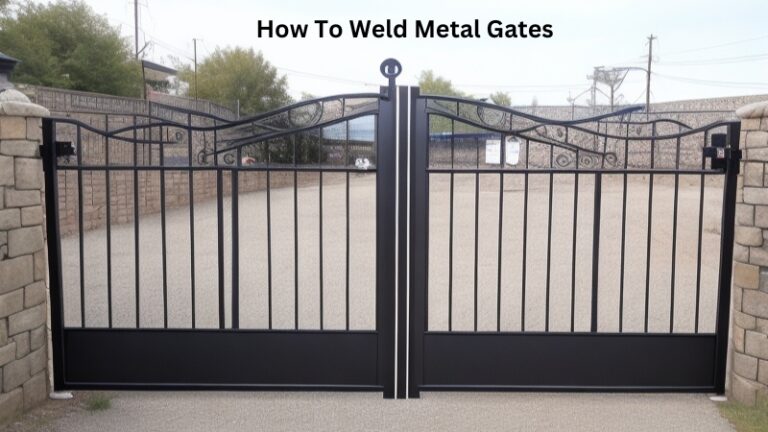
How To Weld Metal Furniture
Today we discuss How To Weld Metal Furniture. Welding metal furniture may seem like a daunting task, but fear not! With the right tools, techniques, and a little bit of patience, you’ll soon be able to transform raw metal into functional and stylish furniture pieces. From selecting the appropriate welding method to preparing the metal surface and mastering the art of joining, this guide will cover it all.
We’ll delve into the different types of welding techniques commonly used in metal furniture making, providing you with a solid understanding of their strengths and limitations.
Additionally, we’ll explore safety precautions and best practices to ensure that your welding journey is not only enjoyable but also safe.
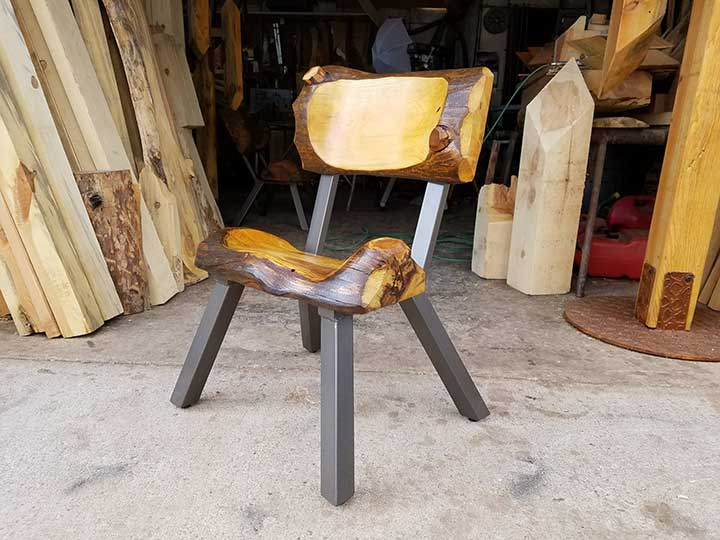
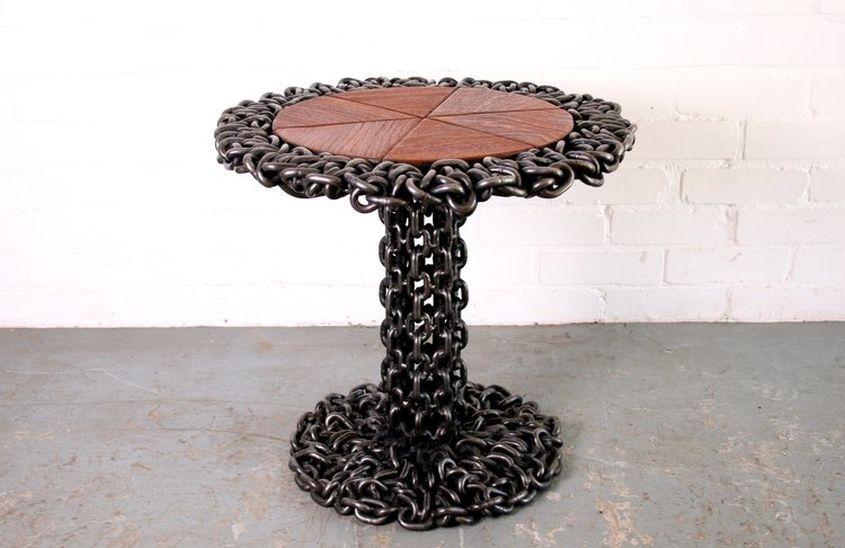
So, whether you’re dreaming of crafting a sleek coffee table or a custom-designed chair, get ready to dive into the world of welding and unleash your creativity with metal furniture making.
Introduction:
Welding metal furniture is a skill that can be both practical and rewarding. By learning how to weld, you can create custom furniture pieces that fit your unique style and needs. In this step-by-step guide, we will walk you through the process of welding metal furniture, from gathering the necessary materials to finishing the final product. Whether you are a beginner or have some welding experience, this article will provide you with the information you need to successfully weld your own metal furniture.
Gather the Necessary Materials:
Before you begin welding, it is important to gather all the necessary materials. Here are the items you will need:
- Welding machine: A MIG (Metal Inert Gas) or TIG (Tungsten Inert Gas) welder is recommended for welding metal furniture. Choose a machine that suits your skill level and budget.
- Metal pieces: Select the metal pieces that you want to use for your furniture. It is essential to choose pieces that are suitable for welding and can withstand the weight and stress of furniture.
- Welding consumables: Your welding consumables will include welding wire, shielding gas, and flux, depending on the type of welder you are using. Consult the manufacturer’s instructions to ensure you have the correct consumables for your machine.
- Safety gear: Welding can be dangerous, so it is crucial to protect yourself. Wear a welding helmet with a proper shade to shield your eyes from the bright light. Additionally, wear welding gloves, a welding apron, and safety glasses to protect your hands and body from sparks and debris.
- Tools: You will need various tools to prepare the metal pieces for welding, including a grinder, clamps, a wire brush, and a chipping hammer. Make sure you have these tools on hand before you start.
Once you have gathered all the necessary materials, you are ready to proceed to the next step.
Prepare the Metal Pieces:
Proper preparation of the metal pieces is essential for a successful weld. Follow these steps to prepare your metal pieces:
- Clean the metal: Use a wire brush to remove any rust, paint, or debris from the metal surfaces that will be welded. This will ensure a clean and strong weld.
- Grind the edges: Use a grinder to smooth the edges of the metal pieces that will be joined together. This will create a clean and precise fit, allowing for a stronger weld.
- Position and clamp the pieces: Once the edges are ground, position the metal pieces in the desired configuration. Use clamps to hold the pieces securely in place, ensuring they do not move during the welding process.
By properly preparing the metal pieces, you will set yourself up for a successful welding process. With the materials gathered and the metal pieces prepared, you are now ready to start welding your metal furniture.
Weld the Metal Furniture:
Now that you have everything in place, it’s time to start welding your metal furniture. Follow these steps:
- Set up your welding machine: Refer to the manufacturer’s instructions to properly set up your welding machine. Ensure that you have the correct settings for the type and thickness of metal you are welding.
- Start welding: Begin welding by creating a tack weld. This is a small weld that holds the metal pieces together. Tack welds should be evenly spaced along the joint to ensure stability.
- Weld the joint: Once the tack welds are in place, continue welding along the joint, moving in a steady and controlled manner. Maintain a consistent speed and angle to achieve a strong and clean weld.
- Inspect and clean the weld: After completing the weld, inspect it for any defects or imperfections. Use a wire brush or chipping hammer to remove any slag or excess weld material.
Repeat these steps for each joint until your metal furniture is fully welded. Take your time and ensure each weld is strong and secure.
finishing Touches:
With the welding complete, it’s time to add the finishing touches to your metal furniture. Here are a few steps to consider:
- Grind and smooth the welds: Use a grinder to smooth out any rough or uneven welds. This will create a clean and polished look for your furniture.
- Paint or finish the furniture: Apply a suitable paint or finish to protect the metal from rust and give your furniture a professional appearance. Choose a paint or finish that is designed for metal surfaces.
- Assemble the furniture: If your furniture requires assembly, follow the manufacturer’s instructions to put all the pieces together. Ensure that all connections are secure and sturdy.
By following these finishing steps, you will transform your welded metal pieces into a beautiful and functional piece of furniture.
Maintaining Your Metal Furniture:
Once your metal furniture is complete, it is important to maintain it properly to ensure its longevity. Here are a few tips for maintaining your metal furniture:
- Regular cleaning: Clean your metal furniture regularly to remove dirt and debris. Use a mild detergent and water, and avoid abrasive cleaners that can damage the finish.
- Check for rust: Inspect your furniture for any signs of rust or corrosion. If you spot any, use a wire brush to remove the rust and apply a suitable rust inhibitor or paint to prevent further damage.
- Protect from the elements: If your metal furniture is used outdoors, consider covering it or moving it to a sheltered area during harsh weather conditions. This will help prevent rust and prolong its lifespan.
By following these maintenance tips, you can keep your metal furniture looking great and in excellent condition for years to come.
Conclusion:
Welding metal furniture is a rewarding skill that allows you to create custom pieces that suit your style and needs. By following the step-by-step process outlined in this guide, you can successfully weld your own metal furniture. Remember to gather the necessary materials, prepare the metal pieces, and follow proper welding techniques. With practice and attention to detail, you can create beautiful and durable metal furniture that will be the centerpiece of any space.
faqs for How To Weld Metal Furniture:
To weld metal furniture, you will need a few essential tools and equipment. Firstly, you will require a welding machine, such as a MIG welder or a TIG welder, depending on the type of welding you prefer. You will also need appropriate safety gear, including a welding helmet, welding gloves, and a welding jacket to protect yourself from sparks and heat.
When it comes to welding metal furniture, the most commonly used metals are steel and aluminum. Steel is durable, strong, and readily available, making it a popular choice for welding furniture frames. It is important to note that different types of steel have varying degrees of weldability, so it’s crucial to choose the appropriate grade of steel for your project.
Aluminum, on the other hand, is lightweight and resistant to corrosion, making it ideal for outdoor furniture. However, welding aluminum requires specialized equipment and techniques due to its lower melting point and higher thermal conductivity. It’s important to familiarize yourself with the specific properties and requirements of the metal you intend to weld before starting your project.
The welding technique you should use for metal furniture depends on the type of metal and the design of your project. The two most commonly used welding techniques for furniture are MIG welding and TIG welding.
MIG (Metal Inert Gas) welding is a versatile and relatively easy welding process suitable for welding steel furniture. It involves the use of a consumable wire electrode that melts and fuses with the base metal, creating a strong bond. MIG welding is known for its speed and efficiency, making it a popular choice for larger furniture pieces.
TIG (Tungsten Inert Gas) welding, on the other hand, is a more precise and intricate process suitable for welding aluminum or stainless steel furniture. It uses a non-consumable tungsten electrode and a separate filler material, providing greater control over the weld. TIG welding produces clean and aesthetically pleasing welds, making it ideal for furniture with visible joints or intricate designs.
Proper preparation of metal surfaces is essential for achieving strong and durable welds. Before welding, you should start by cleaning the metal surfaces to remove any dirt, rust, or paint. Use a wire brush or sandpaper to thoroughly clean the areas that will be welded. This ensures good electrical conductivity and helps prevent contamination of the weld pool.
After cleaning, it’s important to ensure that the metal surfaces fit tightly together. If necessary, use welding clamps or magnets to hold the pieces in place during welding. You may also need to remove any burrs or sharp edges that could interfere with the welding process. Taking the time to properly prepare the metal surfaces will contribute to the overall quality and strength of your welds.
Welding can be hazardous if proper safety precautions are not followed. Here are some essential safety measures to keep in mind when welding metal furniture:
– Always wear appropriate personal protective equipment (PPE), including a welding helmet, welding gloves, and a welding jacket. This will protect you from sparks, harmful UV rays, and potential burns.
– Work in a well-ventilated area or use local exhaust ventilation to prevent the inhalation of welding fumes, which can be hazardous to your health.
– Ensure that your work area is free from flammable materials and keep a fire extinguisher nearby in case of emergencies.
– Take breaks and stay hydrated, as welding can be physically demanding and cause fatigue.
– Familiarize yourself with the specific safety guidelines and recommendations provided by the manufacturer of your welding equipment.
Source: homecrux.com
conclusion:
mastering the art of welding metal furniture is a valuable skill that opens up a world of creative possibilities. From crafting unique pieces for your own home to starting your own business, the ability to weld metal furniture can be both personally fulfilling and financially rewarding. With the right tools, techniques, and knowledge, anyone can learn to weld and create stunning, long-lasting furniture that will stand the test of time.
As you embark on your welding journey, remember to prioritize safety and practice diligently. Welding may seem intimidating at first, but with patience and perseverance, you can master this craft. Whether you are a DIY enthusiast or a professional looking to expand your skill set, the ability to weld metal furniture will undoubtedly enhance your repertoire and set you apart from the rest. So go ahead, grab your welding gear, and let your creativity flow as you bring your visions to life through the art of welding.