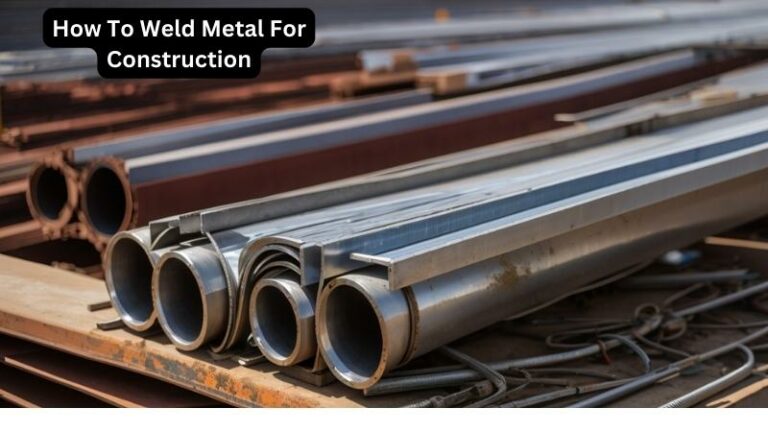
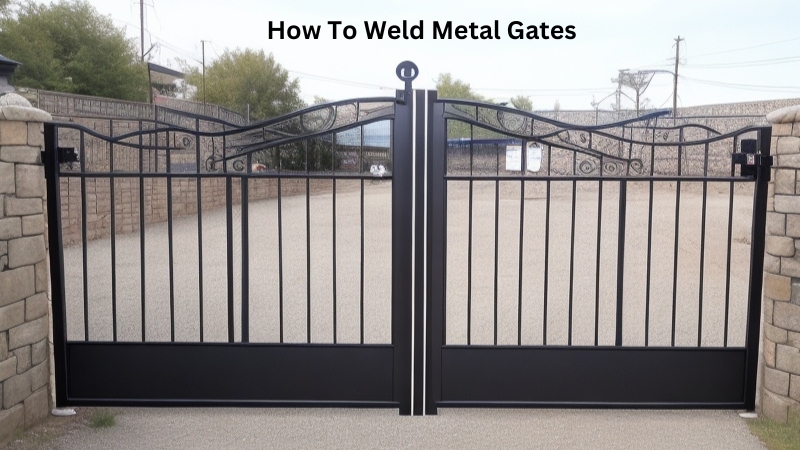
How To Weld Metal Gates
Today we discuss How To Weld Metal Gates. Metal gates are not just functional additions to our homes; they also serve as a statement of security and elegance. However, with wear and tear over time, these gates might require repairs or modifications. Welding is an essential skill that every gate owner should possess to ensure the proper maintenance and durability of their metal gates. In this guide, we will delve into the art of welding metal gates, providing you with step-by-step instructions, safety precautions, and expert tips to help you master this craft.
Whether you are a seasoned welder or a beginner looking to embark on a new DIY project, this comprehensive guide will equip you with the knowledge and skills needed to weld metal gates like a professional.
From selecting the right welding equipment and preparing the work area to mastering the different welding techniques, we will cover it all. So, grab your safety gear, roll up your sleeves, and get ready to dive into the world of welding metal gates, as we unveil the secrets to achieving sturdy and visually appealing results.
How to Weld Metal Gates
- Prepare the metal gate by cleaning it thoroughly and removing any rust or debris.
- Secure the gate in a stable position using clamps or a vise.
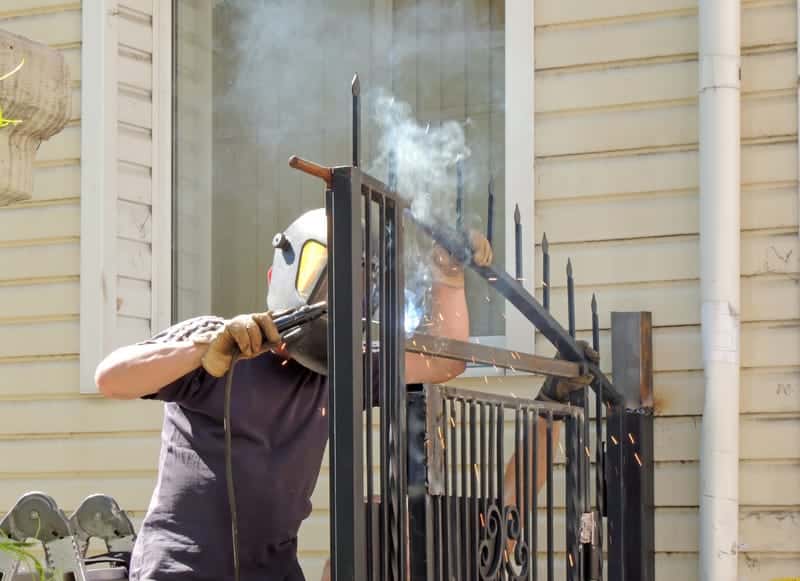
- Put on protective gear including gloves, goggles, and a welding helmet.
- Choose the appropriate welding method for your gate, such as MIG, TIG, or arc welding.
- Set up your welding machine according to the manufacturer’s instructions.
- Start welding by creating a tack weld at one end of the gate and then continue along the joints.
- Ensure proper penetration and avoid excessive heat to prevent warping or distortion.
- After welding, clean the welded areas and inspect for any defects or weak spots.
How to Weld Metal Gates
In this article, we will provide a step-by-step guide on how to weld metal gates. Welding metal gates requires skill and precision, but with the right tools and techniques, you can create strong and durable gates that will stand the test of time. Whether you are a beginner or an experienced welder, this guide will help you learn the process and improve your welding skills.
Step 1: Gather the necessary materials and tools
Before you start welding, it is important to gather all the necessary materials and tools. This includes a welding machine, welding helmet, gloves, protective clothing, metal gates, welding rods, and a wire brush. Make sure that your welding machine is in good working condition and that you have the appropriate welding rods for the type of metal you will be welding.
It is also important to have a well-ventilated workspace with proper safety measures in place. Welding produces harmful fumes and sparks, so make sure to work in a designated area away from flammable materials and always wear protective gear.
Step 2: Prepare the metal gates
Before you can start welding, you need to prepare the metal gates for the welding process. This involves cleaning the surface of the gates to remove any dirt, rust, or paint. Use a wire brush to scrub the surface of the metal gates, ensuring that it is clean and free from any contaminants.
Next, position the metal gates in the desired configuration and secure them in place using clamps or welding magnets. This will ensure that the gates remain steady and aligned during the welding process. It is important to take the time to properly prepare the metal gates to ensure a strong and reliable weld.
Step 3: Set up your welding machine
Once the metal gates are prepared, it is time to set up your welding machine. Make sure that the machine is properly grounded and that you have the correct settings for the type and thickness of metal you are working with. Refer to the manufacturer’s instructions for guidance on setting up your specific welding machine.
Put on your welding helmet and gloves, and position yourself in a comfortable and safe welding position. Double-check all connections and make sure that your welding area is clear of any obstructions. Safety is paramount when welding, so always take the necessary precautions to protect yourself and others.
Step 4: Start welding
With everything in place, it is time to start welding your metal gates. Begin by striking an arc on the metal surface, holding the welding rod at a slight angle. Move the welding rod in a steady and controlled motion along the joint, ensuring that the molten metal fuses the two pieces of metal together.
Continue welding along the entire length of the joint, maintaining a consistent speed and distance from the metal surface. Take breaks as needed to allow the metal to cool down and prevent overheating. Remember to keep your movements smooth and avoid excessive heat buildup, as this can weaken the weld.
Step 5: Inspect and finish the weld
Once you have completed the welding, it is important to inspect the weld for any defects or imperfections. Use a wire brush or grinder to clean up the weld and remove any excess metal or slag. Inspect the weld for any cracks, porosity, or inadequate penetration, as these can compromise the strength and integrity of the metal gates.
If necessary, make any necessary repairs or adjustments to ensure a strong and reliable weld. Once you are satisfied with the weld, you can finish the metal gates by applying a protective coating or paint to prevent corrosion and enhance their appearance.
Step 6: Practice and improve
Welding is a skill that requires practice and continuous improvement. Take the time to practice your welding techniques on scrap metal before working on the actual gates. This will help you gain confidence and refine your skills.
Additionally, consider taking welding classes or seeking guidance from experienced welders to further enhance your knowledge and abilities. Welding is a lifelong learning process, and by constantly striving to improve, you can become a proficient welder capable of creating high-quality metal gates.
Faqs for How To Weld Metal Gates:
To weld metal gates, you will need several pieces of equipment. Firstly, you will need a welding machine, which can either be a MIG, TIG, or stick welder depending on your preference and the type of metal you are working with.
Additionally, you will need welding safety gear, including a welding helmet, gloves, and a welding jacket to protect yourself from sparks and heat. Other essential equipment includes welding clamps, a wire brush for cleaning the metal, and a grinder for smoothing out welds.
It is important to ensure that you have the appropriate equipment for the specific type of welding you will be doing and that you follow all safety precautions to prevent accidents and injuries.
Before welding metal gates, proper preparation of the metal is crucial for a strong and durable weld. Start by cleaning the metal surface using a wire brush or grinder to remove any rust, paint, or debris. This will help to create a clean and smooth surface for the weld. Next, ensure that the metal pieces are properly aligned and securely clamped together to prevent any movement during the welding process.
Additionally, depending on the type of metal you are working with, you may need to preheat it to a specific temperature to ensure proper weld penetration. This is especially important for thicker or heat-sensitive metals. Always refer to the manufacturer’s guidelines or consult with an experienced welder for specific preparation requirements for the type of metal you are working with.
The welding technique you use for metal gates will depend on the type of metal and the desired strength of the weld. For most metal gates, the preferred welding technique is MIG (Metal Inert Gas) welding. MIG welding is known for its versatility and ease of use. It uses a consumable wire electrode and a shielding gas to create the weld.
TIG (Tungsten Inert Gas) welding can also be used for more precise and intricate welds, especially on thinner metals. TIG welding requires more skill and control but produces high-quality welds with excellent aesthetics.
Stick welding, or Shielded Metal Arc Welding (SMAW), is another option for welding metal gates, especially if you are working with thicker metals or in outdoor conditions where wind and atmospheric conditions may affect the shielding gas in MIG or TIG welding.
To ensure a strong and durable weld on metal gates, there are several key factors to consider. Firstly, proper preparation of the metal surfaces is essential, as mentioned earlier. Clean and well-aligned metal pieces will result in better weld penetration and overall strength.
Additionally, selecting the correct welding technique and settings for the specific type and thickness of metal is crucial. This includes choosing the appropriate welding machine, wire size, amperage, and voltage settings. Consulting welding charts or seeking advice from experienced welders can help you determine the optimal settings for your specific project.
Lastly, practice and technique play a significant role in achieving strong welds. Ensuring a steady hand, maintaining proper weld angles, and controlling the speed of the welding process are all factors that contribute to the quality and strength of the weld. Regular practice and learning from experienced welders can help improve your welding skills and produce better results.
Welding can be a hazardous process, so it is crucial to prioritize safety while working on metal gates. Firstly, always wear appropriate welding safety gear, including a welding helmet with a proper shade lens, welding gloves, a welding jacket or apron, and steel-toed boots.
Ensure that your work area is well-ventilated to prevent the accumulation of fumes and gases produced during the welding process. If working indoors, consider using exhaust fans or welding curtains to maintain good air quality.
Additionally, be aware of fire hazards and keep a fire extinguisher nearby. Avoid welding near flammable materials and ensure that the work area is clean and free of any potential fire risks.
Lastly, always follow the manufacturer’s instructions and safety guidelines for the specific welding equipment you are using. Regularly inspect your equipment for any damage or wear and replace or repair as necessary.
Source: weldingmastermind.com
conclusion:
learning how to weld metal gates is a valuable skill that opens up a world of possibilities. Whether you are a homeowner looking to enhance the security and aesthetics of your property or a professional welder seeking to expand your repertoire, mastering the art of gate welding can truly elevate your craftsmanship. By following the step-by-step guide outlined in this article, you can confidently approach any gate welding project with the knowledge and skills necessary to create durable, functional, and visually stunning gates.
Remember, practice makes perfect. As with any new skill, it is important to start small and gradually work your way up to more complex projects. Take the time to familiarize yourself with different welding techniques, equipment, and safety procedures. Seek out opportunities to gain hands-on experience and learn from experienced welders. With dedication, patience, and a passion for creating quality metal gates, you will soon become proficient in the art of gate welding, and the possibilities for bringing your visions to life will be endless.